Thought I'd share some of my GHB, Escape & Evasion, and "Stranded Bag". My primary focus is a bag that will get me back home or help me survive a situation where I may be stranded for a few days.
This bag is no where near complete and is a little heavier than I'd like but not bad for what all is in there. Weighs in under 30lbs which is no sweat for me to hump as I regularly hump a 40lb bag on some of my excusions. I still need to give it a shakedown cruise!
Some things I omitted for OPSEC reasons and some are items I need to add (nagelene bottle and cup THANKS Diesel for the link) and some platypus water bags.
I work primarly outside and at work I keep in a patrol bag alot of work related clothing including cold weather gear. Should I need to get back home I will rob the items I need from my other bags (mainly clothing) and get back. First I have to get back to where I will keep this bag from wherever my work truck is, then a short hike to a private storage building I maintain in the town I work in, and then hopefully ride a bike back home (WX permitting). All this is from the scenario that my vehicle does nt work and I can't get a ride home for whatever reason. Walking is the worst case scenario so my bag revolves around it. Riding the bike home is next to the worst, and driving home is definately plan 'A' However, hope for the best, plan for the worst!
What I am referring to as a "Stranded Bag" is sometimes I have been snowed away from home and I have to set up house wherever. It is rare it has happened, but it has often enough to be annoying. Also, my work truck SUCKS in the snow, and I have been up in the mountains and stuck before. One of these days if I get stuck and can't get out I can camp out until help arrives. This bag will stay in my personal vehicle unless the WX conditions warrant it as I have enough stuff in my work truck to make it through 'standard emergencies'.
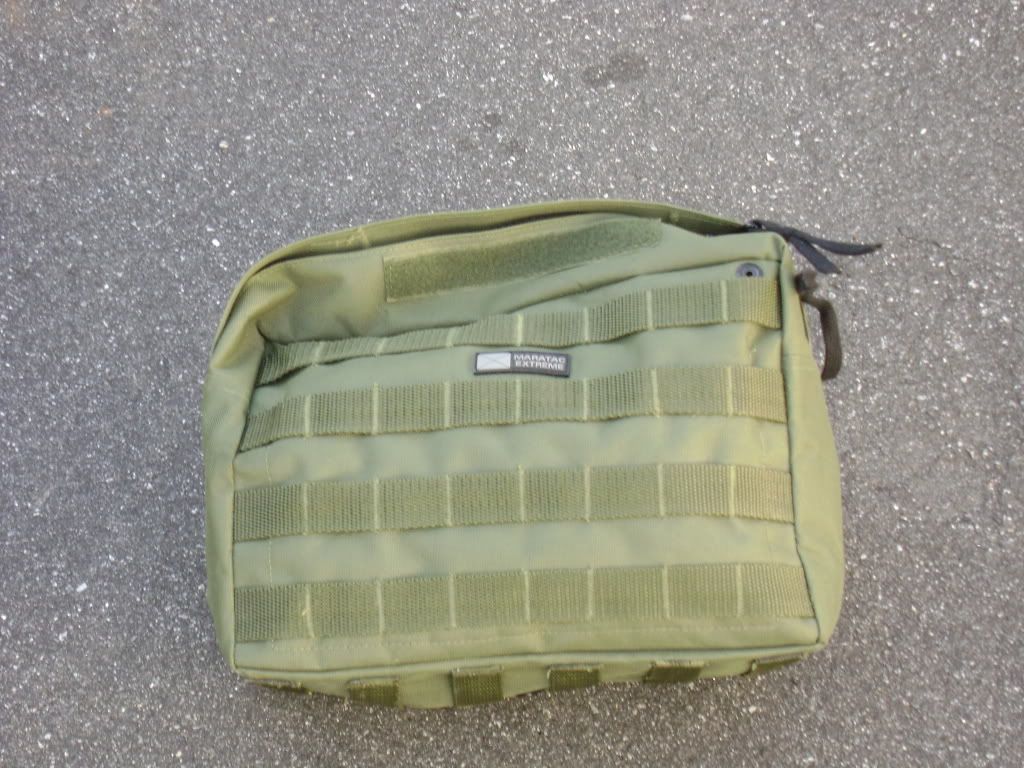
So without further ado, my BAG
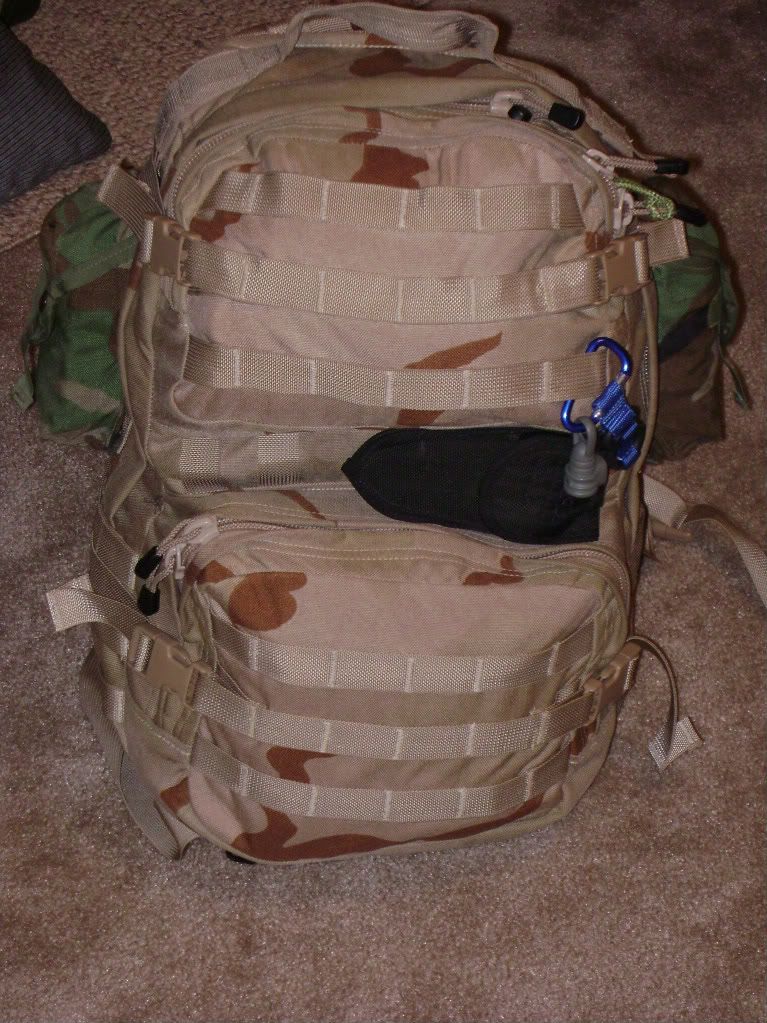
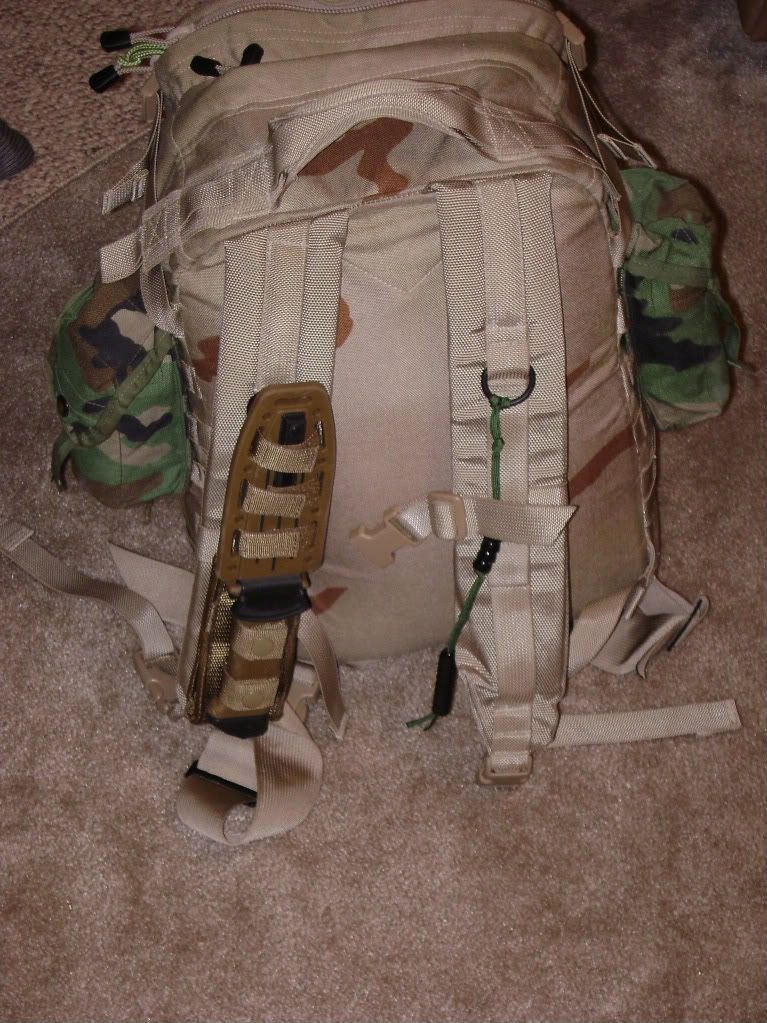
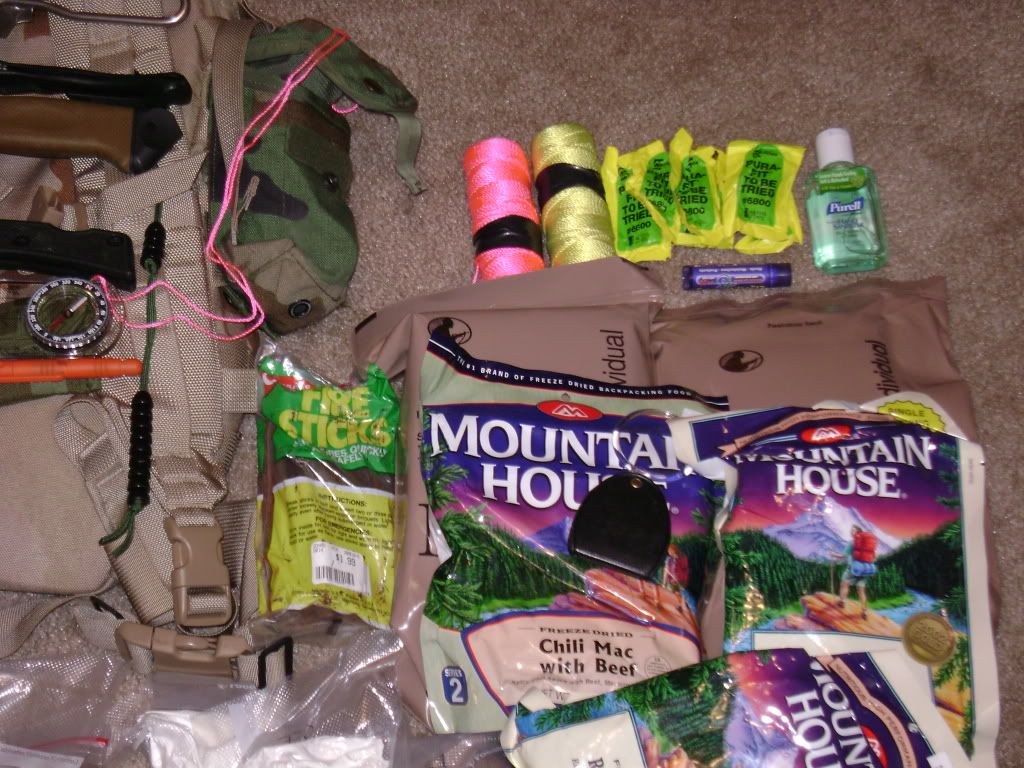
Spec Ops T.H.E Pack treated with Camp Dry with 2 M-16 Mag pouches for additional capacity.
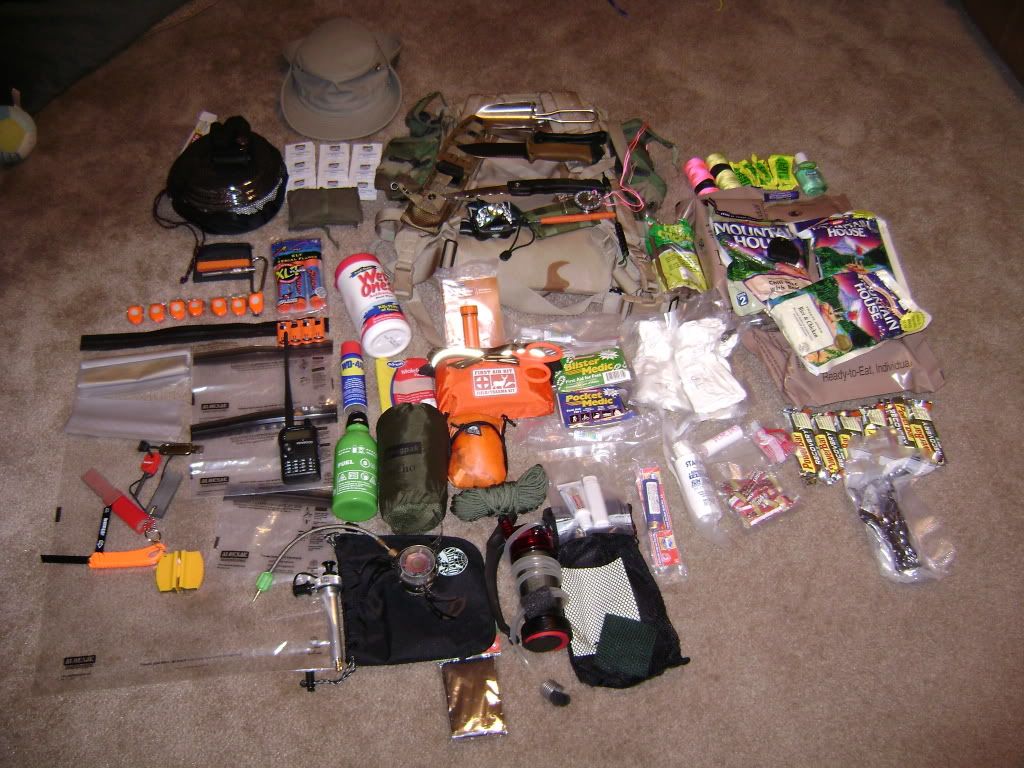
Contents list:
T.H.E. Pack
Tools
one technician screwdriver
one versa driver pocket tool
one you dig it mini shovel
one Gerber LMF2 knife
one cold steel voyager lock back serrated blade knife
one knife sharpener
one small diamond stone
one Gerber saw
one multipurpose saw (uses reciprocating saw blades one for wood and one for
metal)
General
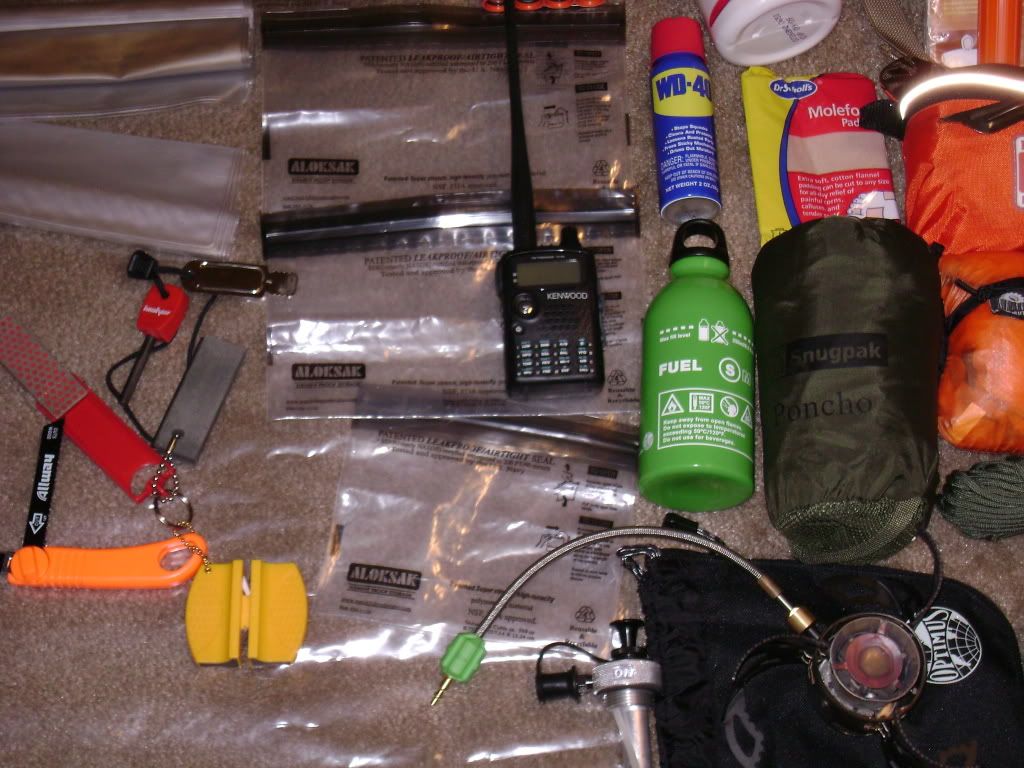
Kenwood THF6A radio
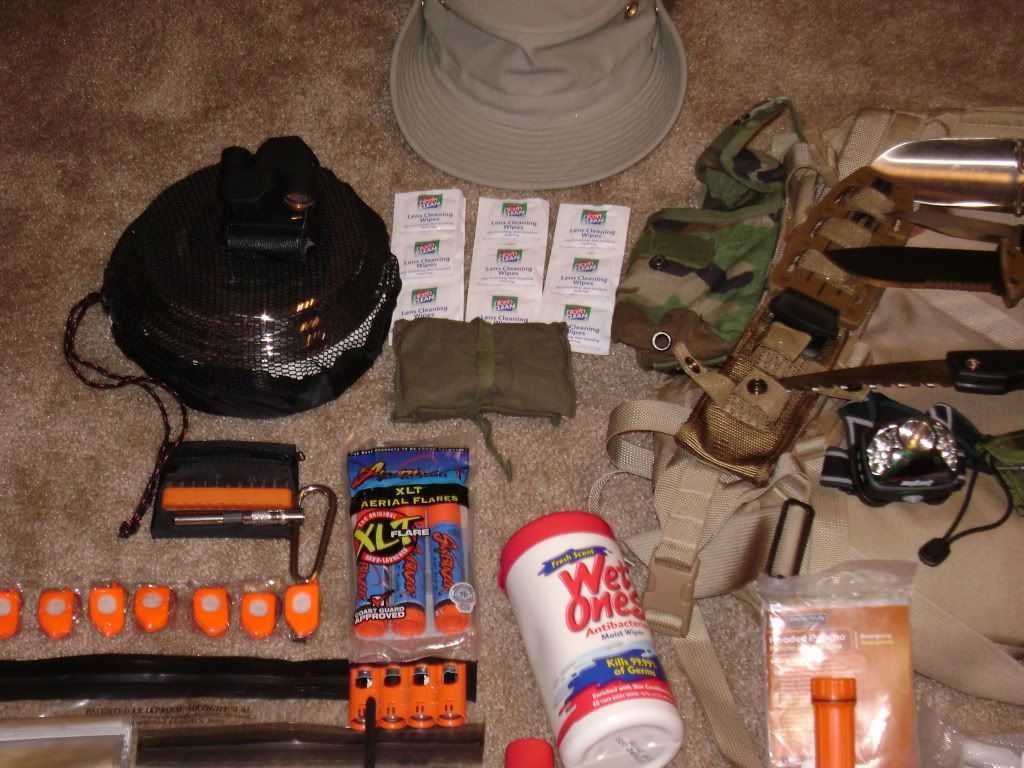
seven LED keychain lights(smaller than light sticks, reusable, can be switched of, and are brighter)
one Energizer LED headlamp
six AAA batteries for headlamp
one CR123A battery holder that holds four batteries for EDC flashlight
8X21 monocular
one pair Bushnell binoculars
signal mirror
three Air burst flares
one bright orange rainfly (also double as signal marker)
para cord
two rolls mason twine high visibility
2 oz WD-40 spray can
one small tube superglue
one whistle
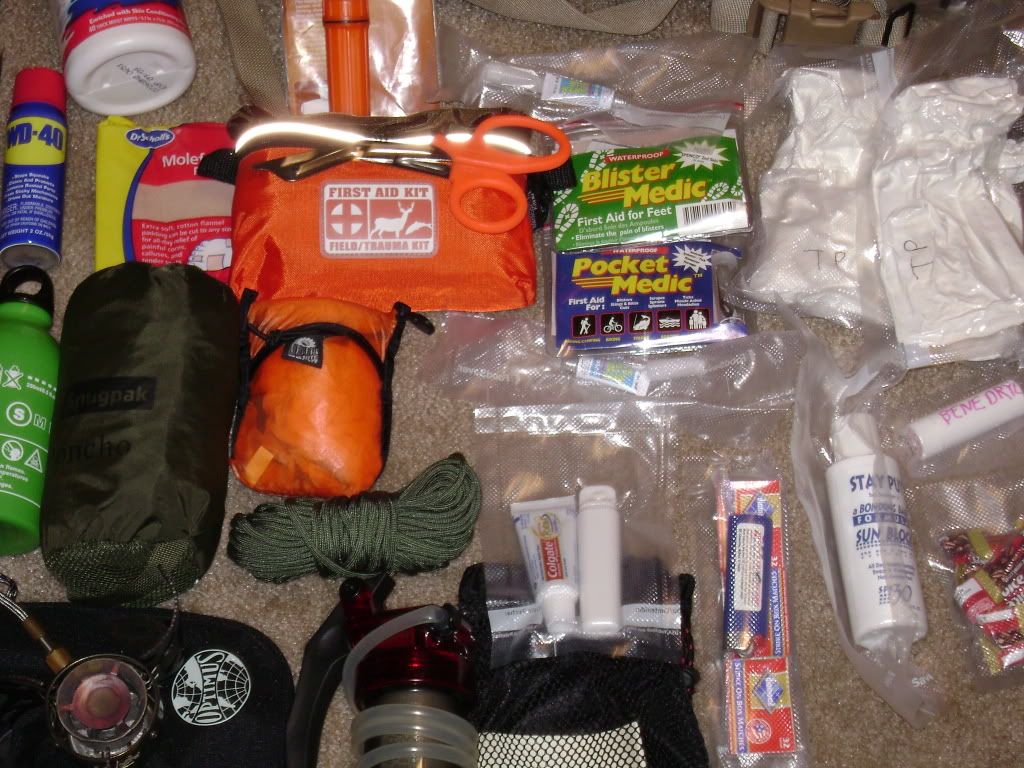
Medical Hygiene
Adventure Medical Kit
Adventure Medical Kit blister kit
Adventure Medical Kit pocket medic
One EMT shear
Benadryl
one purell hand sanitizer
One mole foam
insect repellant wipes
sawyer sun block
one small bar of soap
one small bottle shampoo
one small toothpaste/toothbrush
one floss
two chaptstick
twelve eyeglass cleaners (also can double as fire starter)
one 40 wipe container antibacterial wipes
one roll tp vacuum packed
ear plugs
clothing
sewing kit
one snug pack poncho designed to fit over backpacks
one 9'x12' 3 mill thick drop cloth for improvised shelter
one disposable emergency poncho
one survival blanket
one change of clothes
Tilley hat
one pair mechanics gloves
Fire
one butane lighter
one peanut lighter
three small boxes of matches
one match safe of strike anywhere matches
one Kershaw fire steel
one magnesium fire starter
water proof fire sticks for fire making
magnifying glass
Water purification/gathering
one MSR EX water filter
** two platypus bags
various sized aloksak bags food grade to gather and store water and protect
items that need waterproofing
sponge to gather dew in arid environments
hydration system not shown
coffee filters to help remove sediment
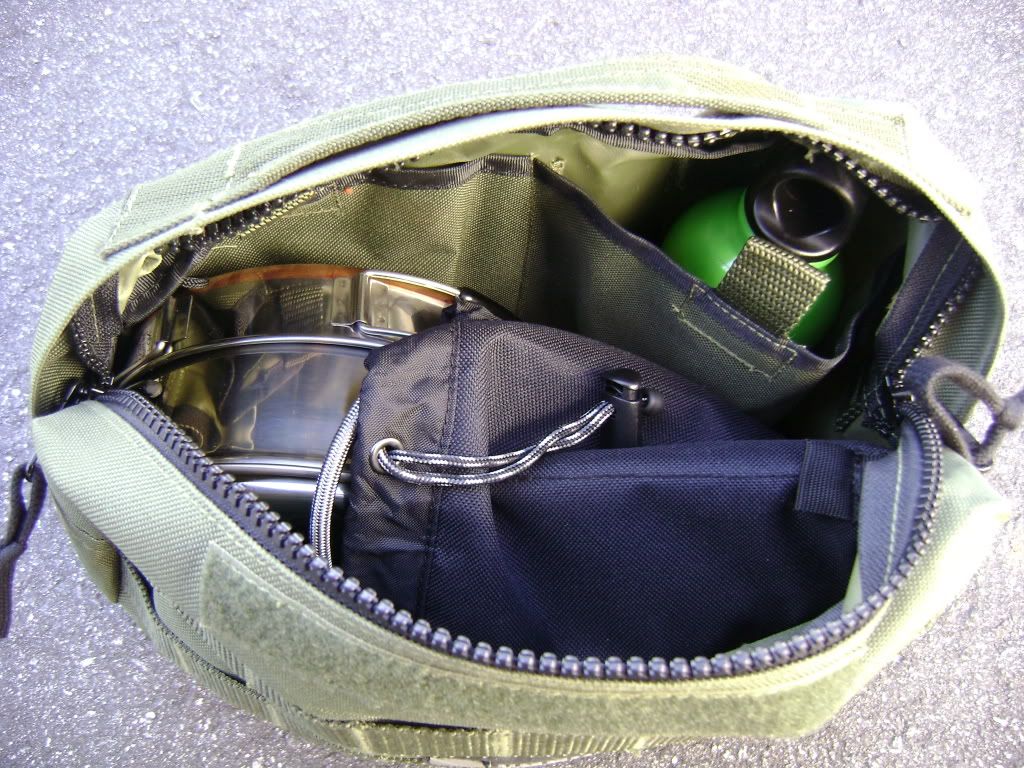
Food
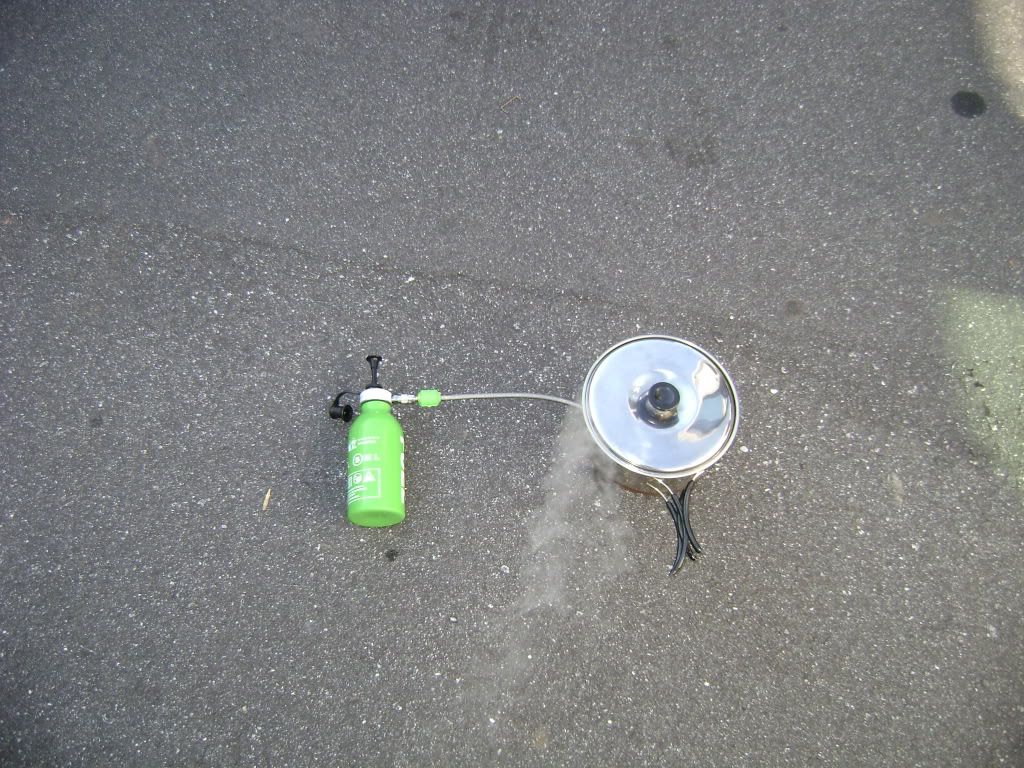
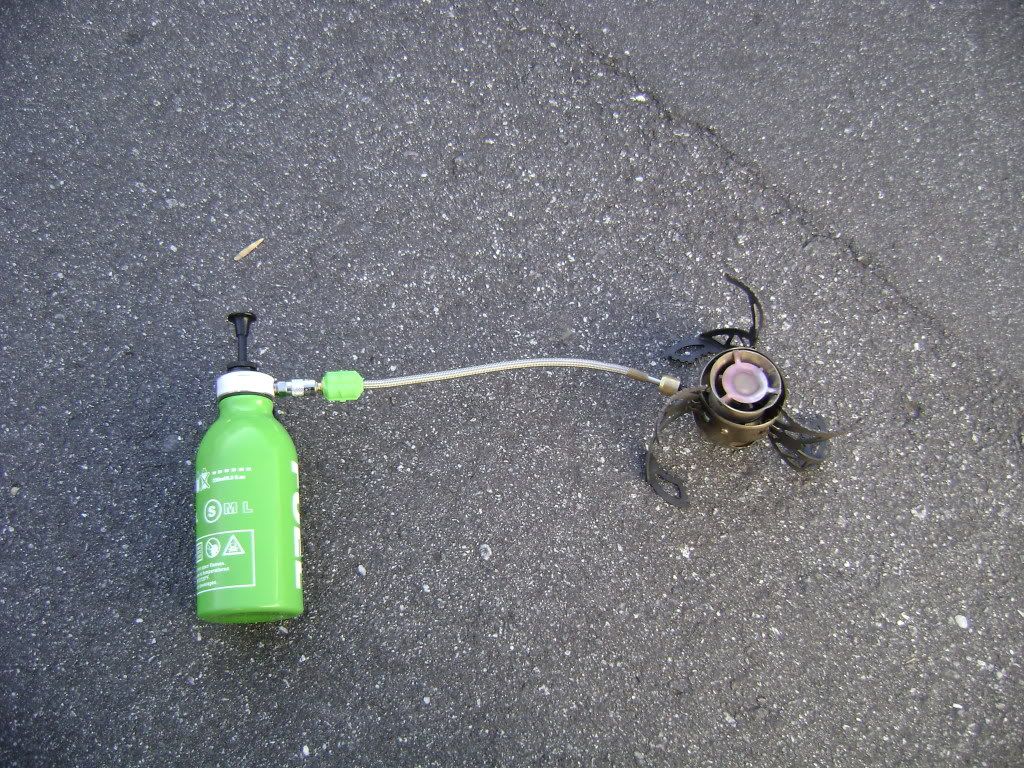
one Optimums nova + multifuel stove
one bottle 250 ml fuel for stove good for 2 1/2 hours cooking
one MSR cook set
P38 can opener
six power bars high protein
one package homemade beef jerky
three Mountain House meals
three MRE's
seven tasters choice packets of instant coffee (dollar store special)
one liter water bottle
**Nagalene Water bottle
Navigation
one silva compass
**maps of local area
GPS V in work bag easily switched to carry bag
Also added:
Pen,Pencil and notepad
Wire for snares and small fishing kit
Small 'airplane sized bottle' of vodka for wound cleansing, sleep aid, pain killer, sterilizer, etc.
Contractor sized trash bags
Towel
Bandanna
Thought not part of this bag, I carry these items everyday (EDC)
One Kershaw folder
One SAK multitool
One Zippo lighter
One Peanut Ligher
One micro grappling hook (use it for telecom work to snag overhead wiring)
One survival bracelet (www.survivalstraps.com) with about 15-18' paracord
Blackhawk Gladius Led light
Pocket Widgy Tool (mini pry bar)
Also in my work bag:
Insulated coveralls (prefer them to insulated underwear)
2 waterproof GoreTex Jackets
Various Sweaters/Fleece
Extra clothes
Camelbak
Mre's
73
later,
ZA